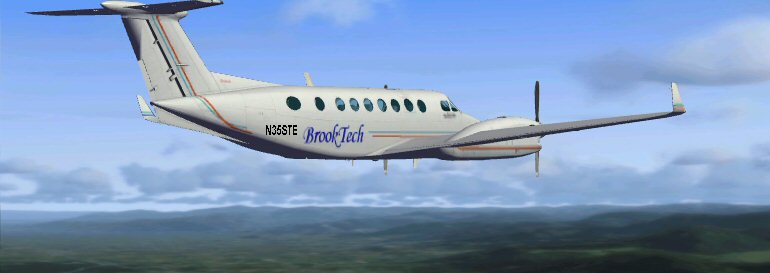
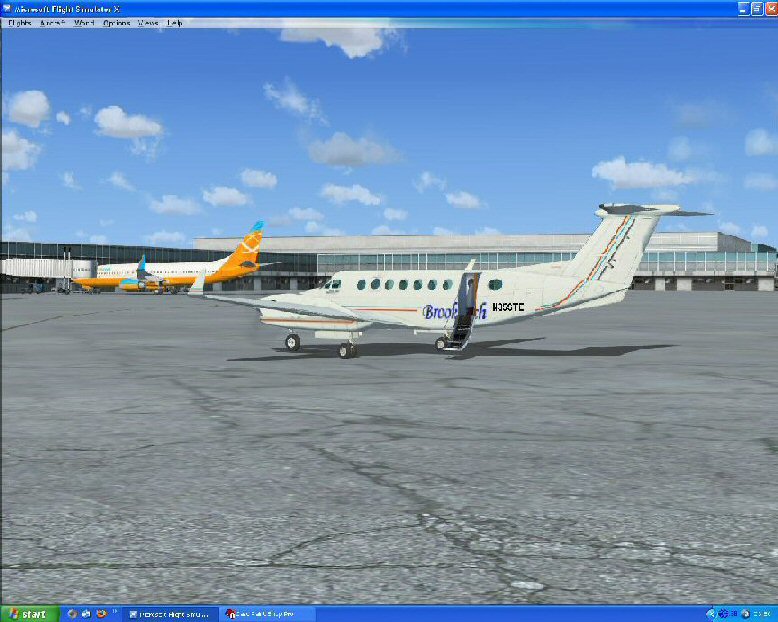
This is an example of adjusting a base model from the King Air 350 examples.
You accept full responsibility for any changes you make, I and this forum am not responsible for any damage you do. If you cannot or will not acccept this then please do not proceed, I and this forum am trying to help only and I can only say the procedure worked for me.If you accepted the default FSX install location then......
(1)
Open C:\Program Files\Microsoft Games\Microsoft Flight Simulator X\SimObjects\Airplanes folder. Right click and copy the
\Beech_King_Air_350 folder to a safe place, only then should you open it.
(2) Open the
aircraft.cfg with notepad (choose from a list),
DO NOT ELECT TO ALWAYS OPEN FILES OF THIS KIND WITH NOTEPAD...... You should have fltsim 0-3 in there so copy the following default
[fltsim.2] section and make the changes from this one to the next section I have changed to
[fltsim.4] (only lines 1
(the title fltsim4), 2
(paint4 instead of 3) and line 7
(texture 4 instead of 3) have been changed.
[fltsim.2]
title=Beech King Air 350 Paint3
sim=Beech_King_Air_350
model=
panel=
sound=
texture=3
kb_checklists=Beech_King_Air_350_check
kb_reference=Beech_King_Air_350_ref
atc_id_color=0xffffffffff
atc_id=N350KA
ui_manufacturer="Beechcraft"
ui_type="King Air 350"
ui_variation="White/Blue & Gold stripes"
ui_typerole="Twin Engine TurboProp"
ui_createdby="Microsoft Corporation"
description="The King Air in all its variants is a beautiful airplane with classic styling and graceful lines. Many of the improvements over the years have provided better aerodynamic efficiency, increased muscle under the cowlings, greater speed, upgraded avionics and electrical systems, and increased cabin luxury. In addition to duties as a corporate shuttle, the plane is also available in cargo configurations."
[fltsim.
4]
title=Beech King Air 350 Paint
4sim=Beech_King_Air_350
model=
panel=
sound=
texture=
4kb_checklists=Beech_King_Air_350_check
kb_reference=Beech_King_Air_350_ref
atc_id_color=0xffffffffff
atc_id=N350KA
ui_manufacturer="Beechcraft"
ui_type="King Air 350"
ui_variation="White/Blue & Gold stripes"
ui_typerole="Twin Engine TurboProp"
ui_createdby="Microsoft Corporation"
description="The King Air in all its variants is a beautiful airplane with classic styling and graceful lines. Many of the improvements over the years have provided better aerodynamic efficiency, increased muscle under the cowlings, greater speed, upgraded avionics and electrical systems, and increased cabin luxury. In addition to duties as a corporate shuttle, the plane is also available in cargo configurations."
(3) Looking in the Beech_King_Air_350 folder you will see amongst others 4 folders, Texture, Texture.1, Texture.2 and texture.3 Copy say
texture.3 folder and paste it to your desktop. Rename it to
texture.4 and paste a copy back to the Beech_King_Air_350 folder. You can now test all is well up to now, start FSX, go to freeflight and you should see two identical planes and colours, you can change the descriptors and the browser pic yourself later, this should be no great shakes. Every time you test any cosmetic changes to the plane please shut FSX down each time or you`ll go around in circles thinking the changes haven`t worked.
(4) You need, to make this work two programs, PSP (or Photoshop or similar) and a .DDS plugin or seperate program. I went for the seperate program, DDS Converter 2 from
http://eliteforce2.filefront.com/file/DDS_Converter;29412(5) You should still have the Texture.4 folder on the desktop, I would also place a backup Texture.4 folder within say a backup folder on the desktop too. That way, you work in the Texture.4 folder, transfer it to the FSX working folder to test and use the backup folder to place a default texture.4 folder on the desktop when you mess up.
(6) Open the texture.4 folder and you will see amongst others this file.....
Beech_King_Air_1_T.ddsOpen the DDS converter and use this folder and particular file as the input file. Convert to .jpeg or .bmp or whatever you prefer and save in the same folder. Open the saved file, make your artistic changes and save the content. Open DDS converter once again, use the
Beech_King_Air_1_T.jpeg or whatever picture file format you used as input and then output it back to the folder as
Beech_King_Air_1_T.dds once again.
(7) Copy the
texture.4 folder from the desktop and paste it into your working fsx program at
C:\Program Files\Microsoft Games\Microsoft Flight Simulator X\SimObjects\Airplanes\\Beech_King_Air_350 folder and overwrite the texture.4 folder we made earlier and tested.
(8) Now open FSX/freeflight and select the correct plane, et voila your masterpiece!!! It should fly and work just like the rest, have fun and enjoy......
Reider