Here is a quick way to control how your filter shows up in a picture. This method can be used for many things, from adding highlights, shading an area etc, once you start to think in this way you will find more and more uses for it.
For the sake of a demo I'm using the built in 'Sharpen' filter. FS screenshots can look pretty flat and soft, sharpening up the panel lines is a good way to make it look better. But and it's a big but, the filter will make your edges look pretty aweful and jagged. So in the demo I will show a way to stop that happening.
Ok, load up your screenshot and the first thing to do is duplicate the layer (Point at the layer in the layer list, right click and select Duplicate Layer)
:
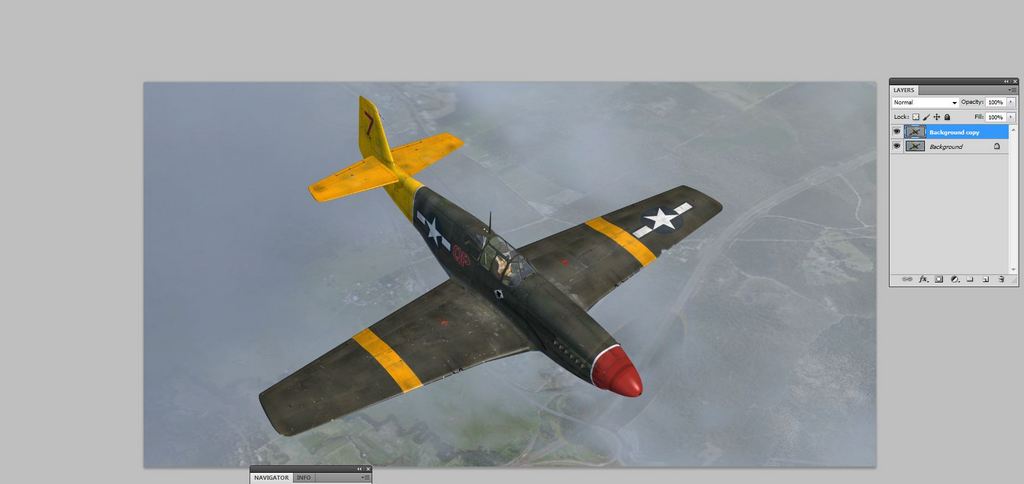
Make sure the new layer is active - it will be highlighted in blue as in the picture above.
Now add your filter - mine is the sharpen filter, you should be able to see how the wing edges have gone jagged and the picture looks quite bad - Don't worry, just set the filter so that the part of your picture you're interested in looks good. In my case it's the panel lines and wing weathering. Ignore how bad the rest of the picture might look.

The wing leading edge looks much worse on the full size picture - reducing things for posting has not helped show it.
Now the clever bit.
At the bottom of the layers list you will see a square with a white circle in it - Third in from the left. This add a mask.
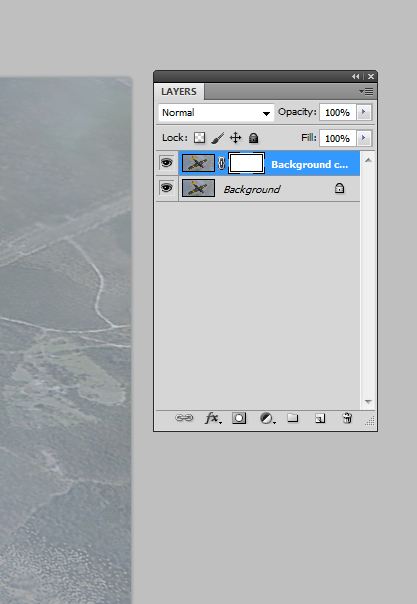
Click it and you will see a white box appear in your duplicated layer.
Now press Ctrl + I