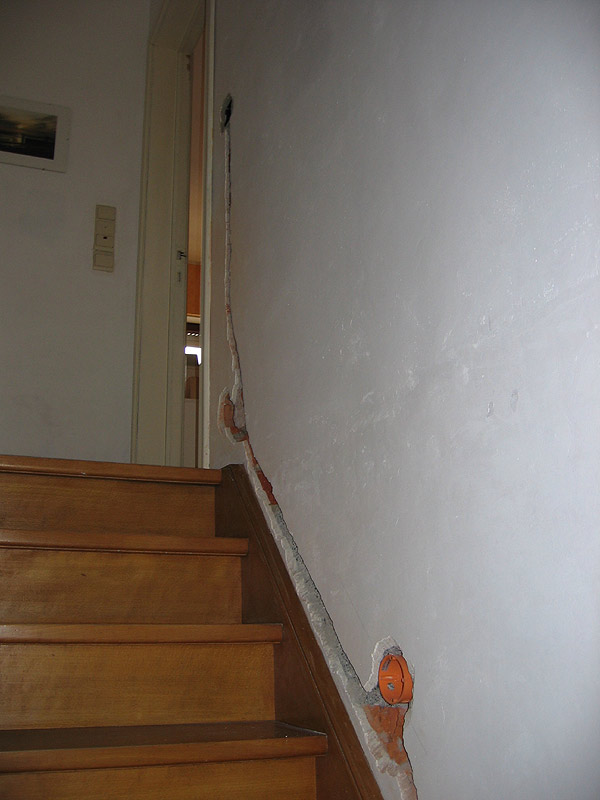
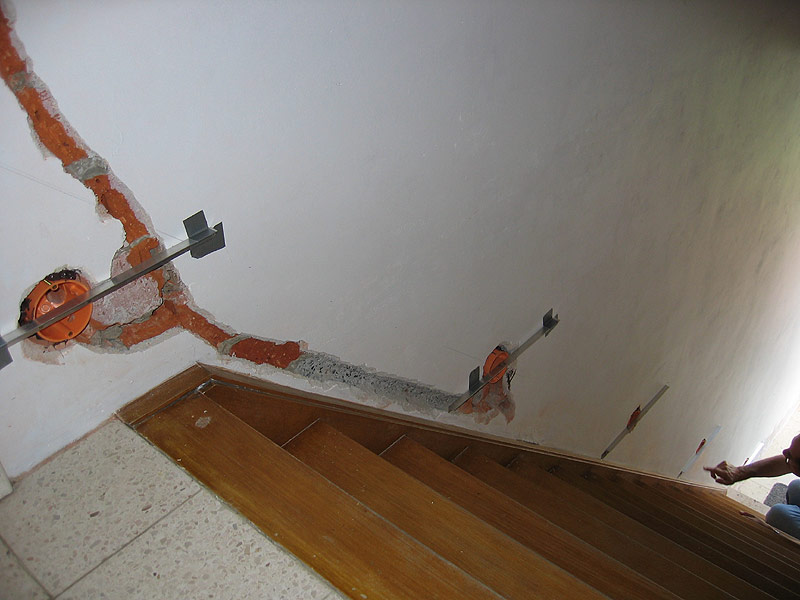
Question 1: ... ehrm... chisel ... bl**dy hard work, but the misses didn't like the idea of powertools and a lot of dust. The holes were drilled, the red stuff is brick and chisels away nicely, the grey stuff is concrete... AAAARRRGHHH... ;D. For 3 lights we could just drill a hole trough the wall to conect the cables in my garage, the 2 upper lights and the switch needed cables in the wall.
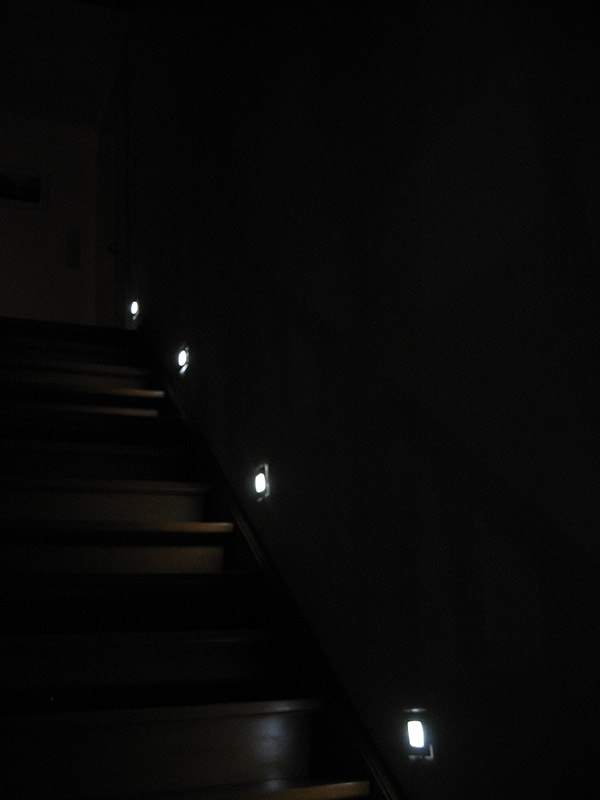
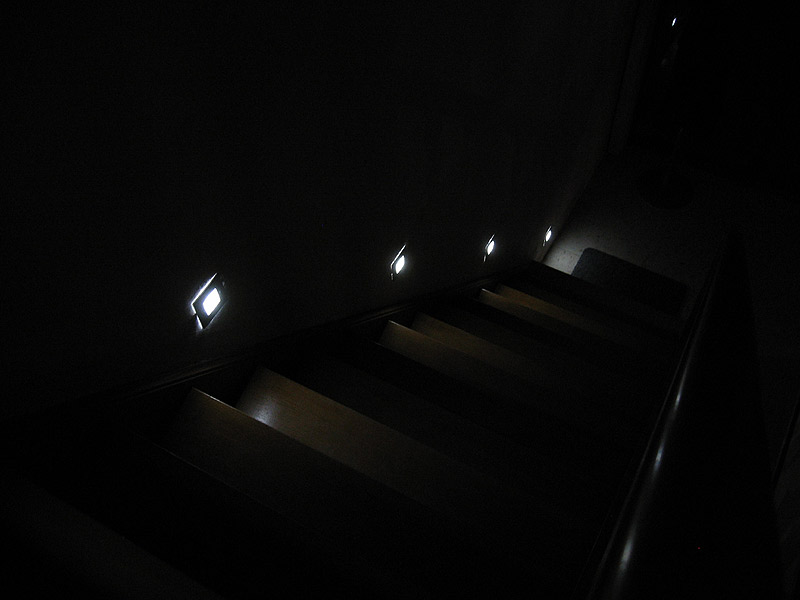
About the criticism... you're spot on. But it isn't finishe yet. I need to sand the walls before we paint them, so I'll be extra attentive in the areas around the lights. It should be easy to fix.
LOL... my sympathies. That plaster looks like it was done properly (thickgreycoat!); same for the concrete... which means it must've been tough.
Cut to Omag, hammer and chisel in hand: "Nooobody knows..." clink! "...the trubba ah seeen...." clink!

Worth the trouble, though... looks real good so far.
Here's a tip for next time: as long as there's two of you, one can hold a shop-vac nozzle right on the work area while the other uses the power chisel or whatever- noisy, but keeps the dust under control (about the same mess that way as doing it by hand). But of course if you have to work quietly...

Easiest mess-free way to kill that light-leak if it still persists is with the same foam-rubber gasket material used to weatherproof electrical fixtures; if you can't find some to fit your plates, I think it can be bought in sheets which you can custom-cut.