Hi Doug!
What a difference !

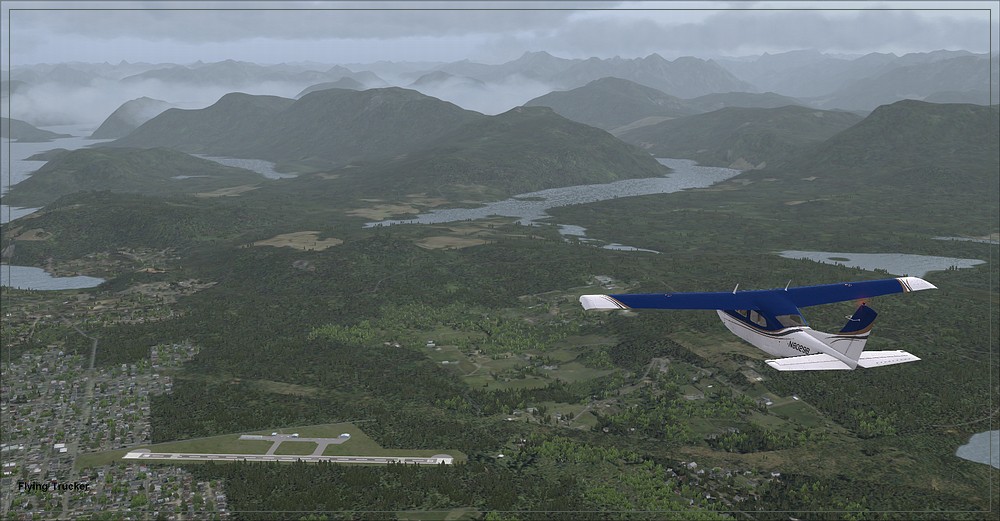
It's simple: the shots number 3, 4 and 5 show that you have perfectly understood what you needed to do

The plane is nicely placed on the picture, and we can appreciate the beauty of the surrounding landscape and scenery. Excellent !
Now, to the criticism again

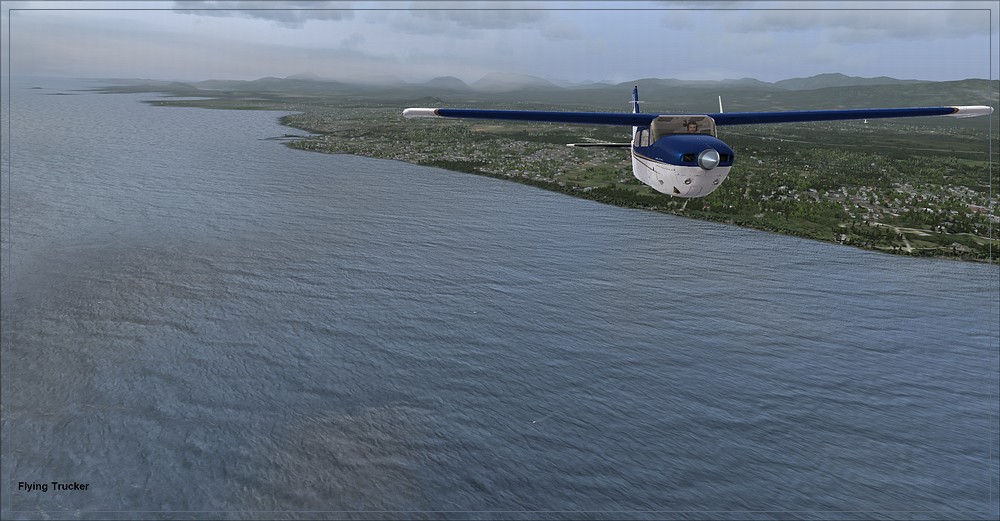
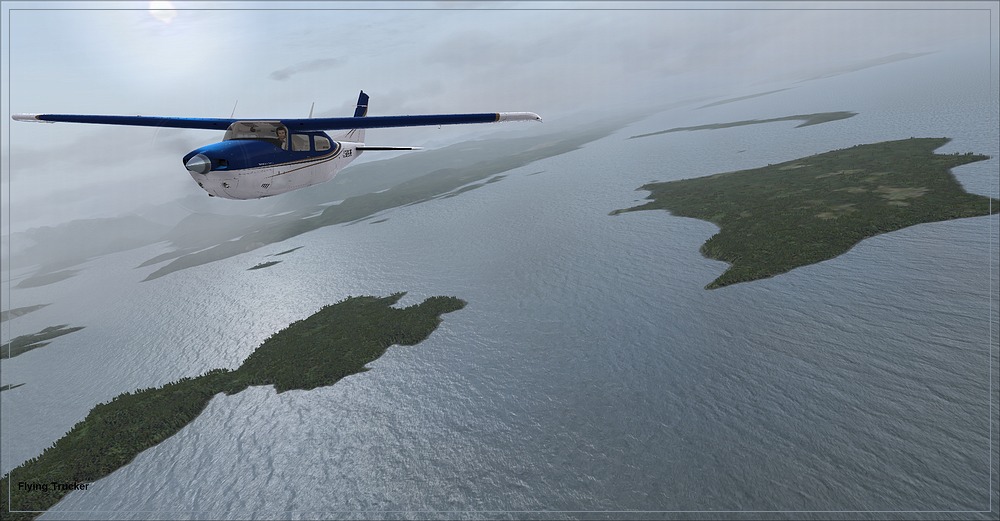
- Shot 1: You initial idea was very good. However, the shot would have been better if the plane was placed in the lower left, instead of the upper right. By placing the aircraft in the lower left, it would have "filled" the empty water surface part of the picture, and the small coastal area would have been more visible. The angle of view of the aicrraft is perfect though, so the goal would be to have the aircraft in the lower left with the very same orientation.
- Shots 3, 4 and 5:
Nothing to say, excepted that you can also try the same angles of view/composition, with the aircraft a little bit closer. The distance is fine on your shots, AND you can also try it with smaller distance from the plane as well

(warning, it will be a bit tricky, don't get too close or the plane will take too much space on the picture
)
- Shot 6:
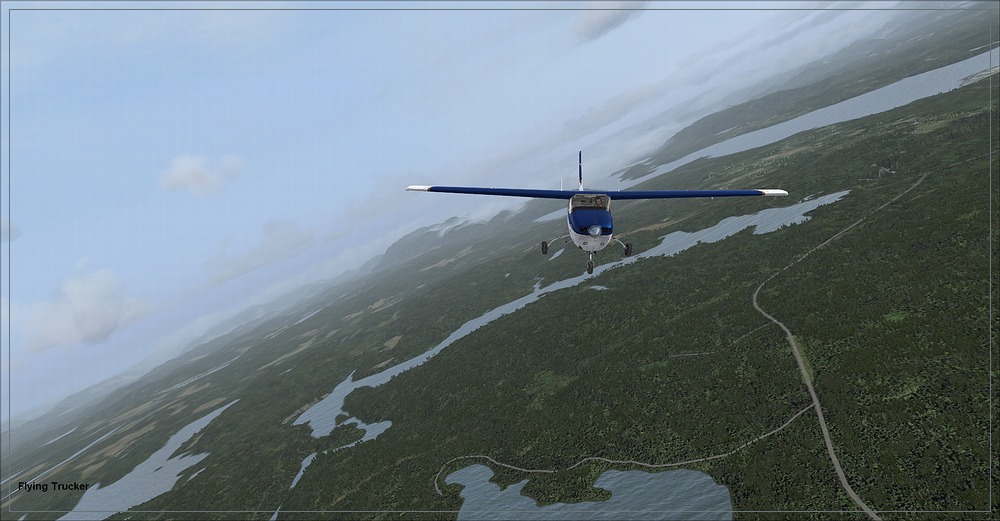
This shot is not bad but it lacks a bit of interesting things, it's a bit empty. In such a case, when the scenery is not so interesting, don't hesitate to make your plane bigger on the shot. That'a a Carenado/Alabeo aircraft, so you can get your camera closer or zoom in without issue. Warning: if you choose the zoom, be very carefull about the background: don't let it become blurry. Typically, you want your plane to use at something like two thirds of the surface of the picture.
However, if you are flying over beautiful scenery, then you should keep the same angle of view, but just a little bit closer. It's up to you to find the sweet spot, depending simply on how it looks like
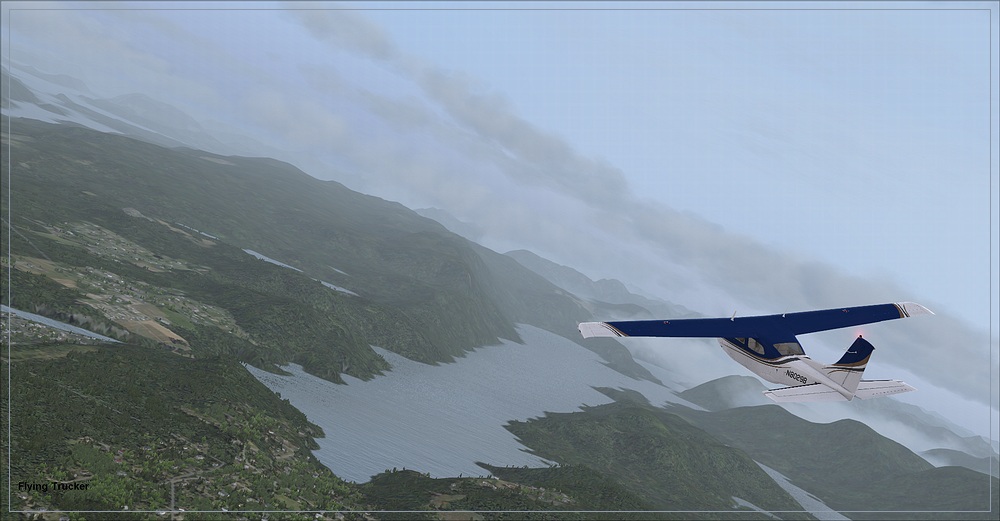
- Shot 7:
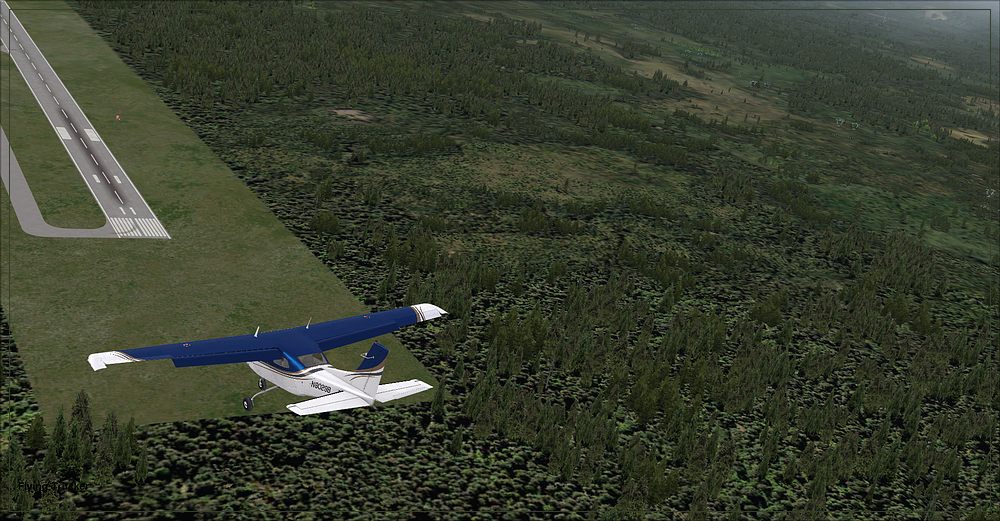
That's the tricky one. The problem here is the orientation of the shot itself. The aircraft is looking to the left, the runway is to the left... but the screenshot looks not left enough

At first, I would have said that you should have changed the orientation of the view, with the hat swtich (or any command you use to orientate your view in the cockpit), to look a bit more to the left. This would shift the plane to the right part of the shot, and a greater part of the runway would be visible....
However, I'm not sure the result would have been so great...
If you want to make a nice "approaching" effect, you should modify the camera position a little bit, like this:
- first, get the plane in a level position, not so diving down. this will impact the orientation of the camera as well, after all. But keep the plane at the same geographic position, heading toward the runway.
- You might also want to reduce a little bit your altitude... not sure about that though, just keep it in mind if you want to experiment.
- then, move the camera a little bit lower. You're a bit too high above the aircraft. Try getting just a little bit higher than the tail. This should give a nice angle of view on the aircraft.
- then orientate the camera more to the left, shifting the aircraft in the upper right part of the picture. And because you're not so high above it, you should be able to see both the runway and the horizon perhaps

Let me know how it goes. And congrats again for these shots !