Project Nissan: Texture Testing
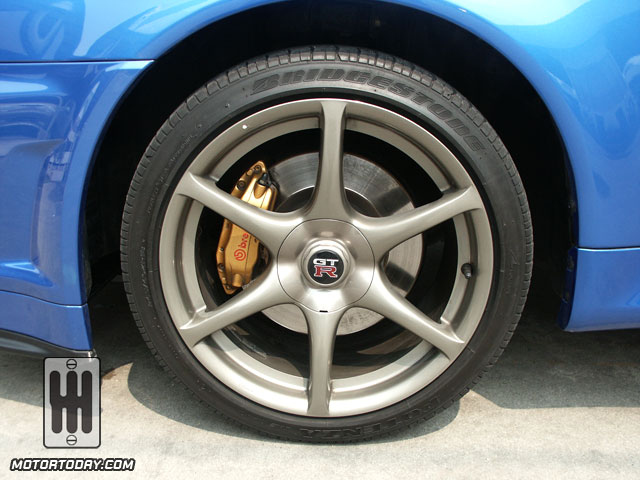
Ok, I meant to make the rims of the car. However, since textures are one of my pet peeves during development, I decided to skip the rims for a later time and went on with applying the textures.
I tried applying the textures to the dashboard without having to detach polys, but that seemed to have backfired during the export process. So, I applied the textures the old-fashion way. I managed to create a nice specular effect on the dashboard to help give the texture more life to it. I always check for several things when it comes to texture development:
1. Tone of the texture parts
---A. Tones must match so that they look nice on every angle.
2. Size of each texture part
---A. I don't like it when one part is fuzzier than the other.
3. Photorealism
---A. I got tired of seeing hand-drawn textures in any interior.
I also consider the specular level for certain parts of a texture so that their shine matches that of the real-world.
 That specular lighting and the bump-style textures- put it this way, I thought your sig was a photo at first!
 also, when you come to do the texture properties on rims/wheels, will it be set to have reflections like chrome rims etc.?

