Towerguys baron project part 17
Hi guys
just a quick update to show I'm still plugging away slowly (Oh so slowly!).
I have been working on the engine instrument panel lately - I did look at the prebuilt ones but they are so hugely overpriced that I decided to give it a go myself.
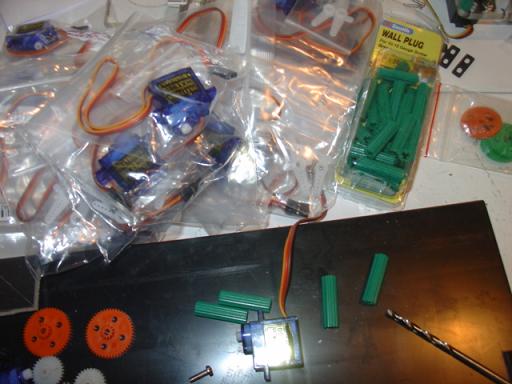
first the parts, some servos via trademe on the internet, bought in bulk, so cheaper. some plastic gearing from a local electronic shop and some from recycled printers and the plastic was recovered from the roadside inorganics collection.
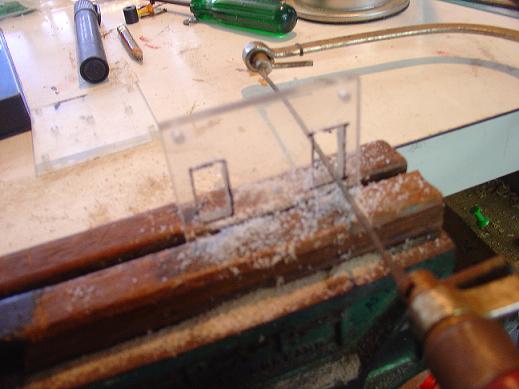
Then it was cut the plastic into shape and cut mounting holes for the servos.
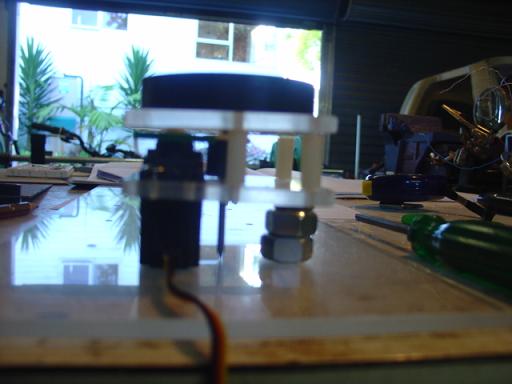
then I decided I better make a prototype first just to check I was on the right track.

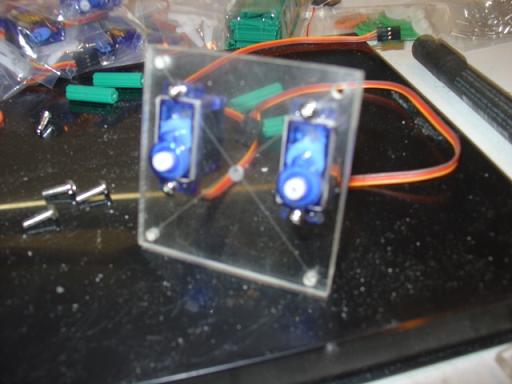
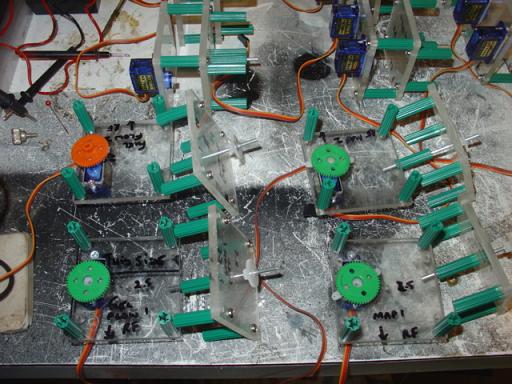
Back to fitting the servos
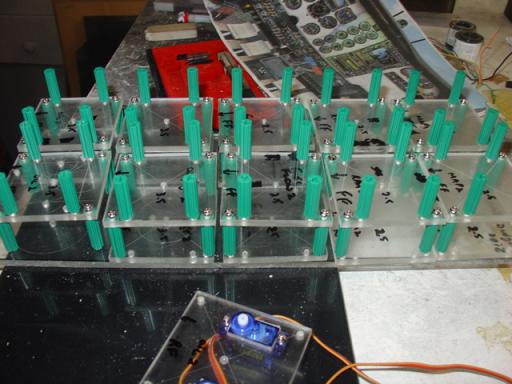
Then making up the layers of the instruments and the panel to attach them all to.

The local electronics store wanted $14 for a packet of half a dozen metal spacers - Yeah right! - at Bunnings ( a local trade store) I get a packet of plastic wall inserts, all the same size, 25 in a packet, for about $8.
Then its glueing the gears onto the servo horns.
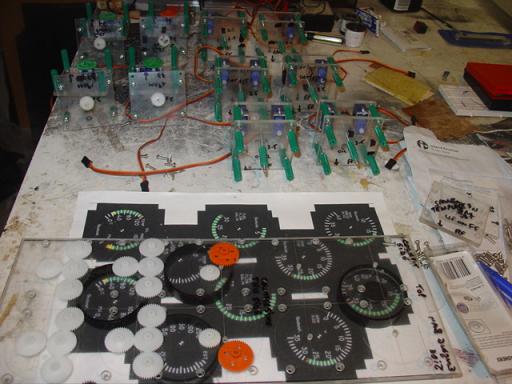
This is the production line. Underneath you can see the faces printed out. This is a draft copy on plain paper - I think the final copy will be done on a sticky backed paper to glue onto the plastic sheet.
Thats progress so far.
Cheers all.
just a quick update to show I'm still plugging away slowly (Oh so slowly!).
I have been working on the engine instrument panel lately - I did look at the prebuilt ones but they are so hugely overpriced that I decided to give it a go myself.
first the parts, some servos via trademe on the internet, bought in bulk, so cheaper. some plastic gearing from a local electronic shop and some from recycled printers and the plastic was recovered from the roadside inorganics collection.
Then it was cut the plastic into shape and cut mounting holes for the servos.
then I decided I better make a prototype first just to check I was on the right track.
Back to fitting the servos
Then making up the layers of the instruments and the panel to attach them all to.
The local electronics store wanted $14 for a packet of half a dozen metal spacers - Yeah right! - at Bunnings ( a local trade store) I get a packet of plastic wall inserts, all the same size, 25 in a packet, for about $8.
Then its glueing the gears onto the servo horns.
This is the production line. Underneath you can see the faces printed out. This is a draft copy on plain paper - I think the final copy will be done on a sticky backed paper to glue onto the plastic sheet.
Thats progress so far.
Cheers all.

