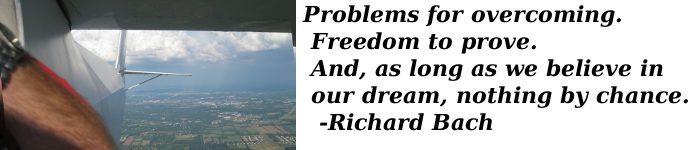
Finally made holes and mounted a pair of neat little aluminum vents... this is not the prettiest sheet metal on this thing, but nobody will see the top.
 Going to add some more rivets to this later and clean it up a little better.
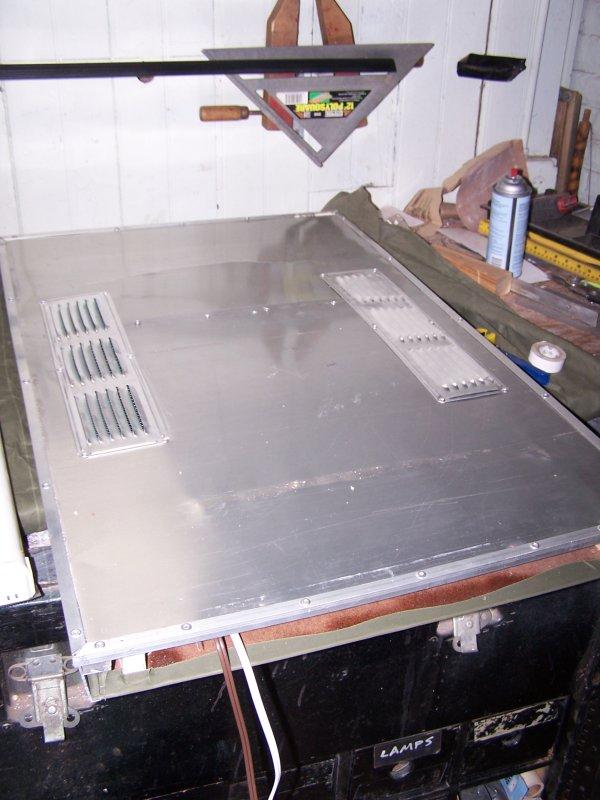
A look at the inside: the reflector is from a cheapo fluorescent fixture I'd bought recently that died on me- fortunately, I have another light that's very light and compact; it will mount onto the reflector with Dua-Lock (like Velcro, only better).
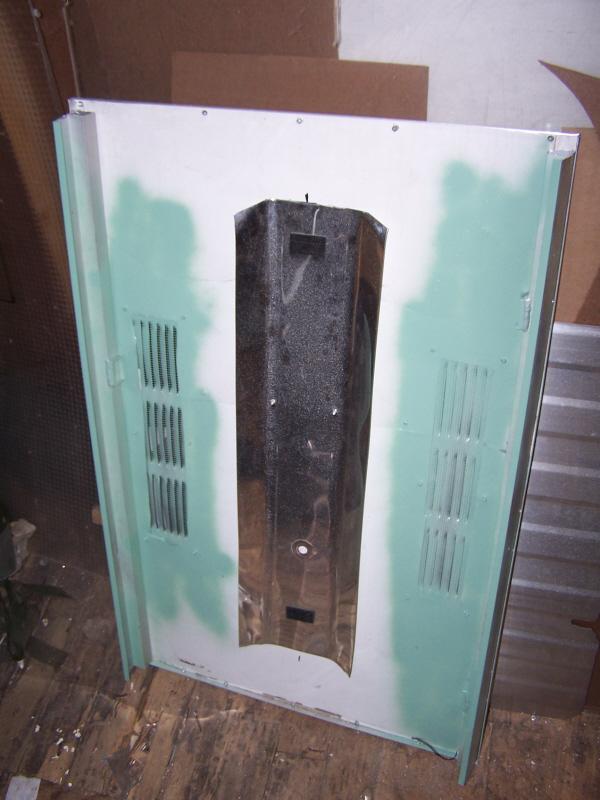
Some Masonite, some pine, some zip-cord extensions, a bit of fabric, and... voila!! The overhead panel, wired up and ready to go. I used a UL-listed shallow plastic box for the switches.
The (almost) finished product: I still have to affix the clear acrylic somehow, maybe with a frame around it. There's a switch for the light, and another for the fan which feeds the eyeball vents in the panel. The diffusion on that acrylic is contact paper, normally used on bathroom windows, etc.
The light is not really intended for use while flying the sim... I will have red panel lights for that, although the LCD will light things up pretty well. But I will definitely need a work light for final wiring and future service and cleaning, so this was worth doing.

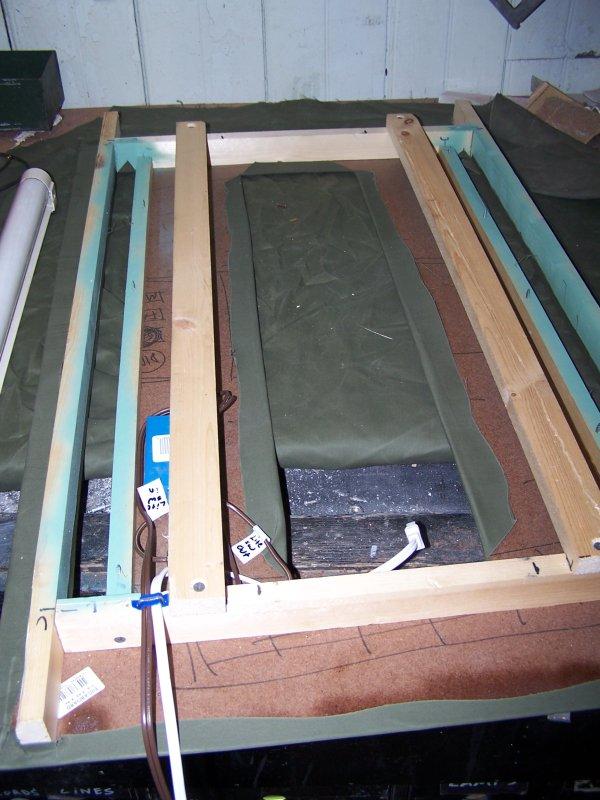
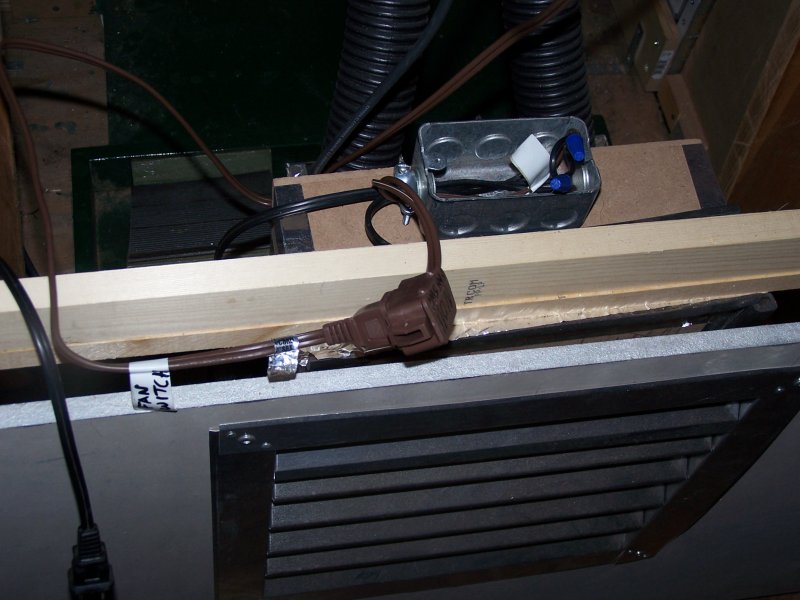
The (undressed) wiring: I hacked a $2 extension cord to interrupt the hot leg to the fan motor so I could make a switch leg. If and when I need to disaseemble the 'pit, I just have to unplug that brown plug. The black plug will plug into a power strip here in the nose, along with the plug from the light (not shown). There will of course be a cover on that single-gang box... I don't want any nasty surprises from the 120V system while servicing this thing.
Next task is to finish the shell, including cleaning up the cuts around the door, adding the left window and door latch hardware... then the whole thing gets dissasembled for final painting. While the shell is off I have to put better casters on the base, raise the seat up a little, then build the armrest and throttle console.... then lay some carpeting in there...
THEN I'll be ready to start working on the panel, throttle quadrant, and joystick...