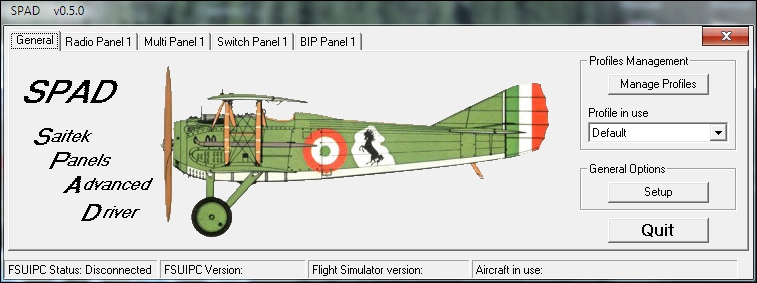
The Saitek BIP ( Backlit Information Panel) is probably low on most peoples "want" list. But if you like to fly "old" and "slow" planes (i.e. prop liners, general aviation private aircraft, etc.) the BIP has a new trick up its sleeve thanks to a free program called SPAD.
* NOTE: If you want to use SPAD (which is FAR better than the Saitek drivers) you MUST uninstall the Saitek program/drivers.* The ONLY exception to this is the Saitek Instrument Panel driver which MUST be downloaded separately. DO NOT USE THE SAITEK UNIVERSAL DRIVER PACKAGE!
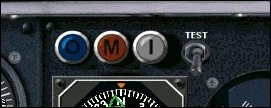
In the olden days airports needed radio "markers" to signal how close you were to the airport during heavy overcast or fog. Even today many planes and airports still use the OMI (Outer, Middle, Inner) marker system. If you look at the older cockpits you'll see 3 un-lit lights or domes.
 .
.  .
. 
If you'd like to see an OMI animation try this site. Click the green "PLAY" button on the left to start the animation.
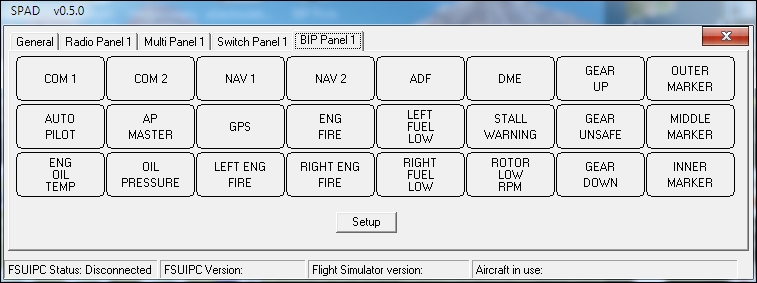
For this BIP modification you want the 3 lights to come on as you fly over the 3 radio markers. BUT WAIT!!! YOU DON'T HAVE 3 TILES!
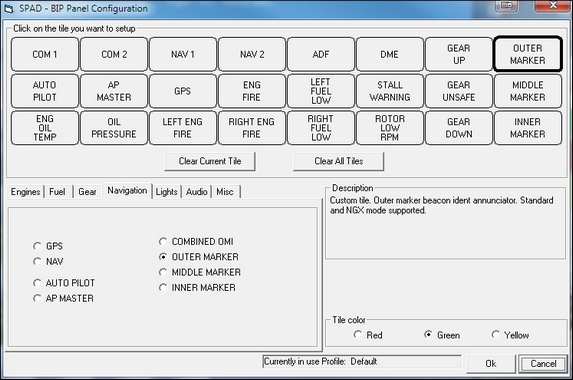
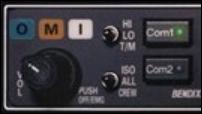
As the Saitek BIP has only one tile labeled "MARKER", what you'll have to do is to make your own BIP tiles. Or, then again, you could always use the one "MARKER" tile, as Satek intended, and just have SPAD change the light underneath it. Me? I prefer 3 separate tiles.
I started out with Arial Bold type on plain paper. When I got it to about the right size I opened up the BIP panel and put the sheet of paper over one of the light compartments.
You'll have to play around with the centering a bit. But once I thought that it was the correct size and font ON PAPER, I printed it on a transparency. Transparencies can be bought for ink jet or laser printers.
I asked some people in an office for 3 sheets and they were nice enough to give them to me. Printer transparencies are not cheap! If you get it wrong, try again. Print on the same transparency, but in a different place. Practice on plain paper again if you need to.
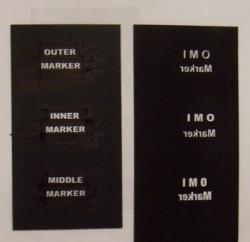 . This is a single transparency. It was flipped over to test different fonts.
To make sure that it was black enough I VERY carefully used a black felt tip marker to cover over the areas AROUND and BETWEEN the words. Next I cut the new "tiles" slightly larger then the opening.
I then VERY carefully placed a small piece of electrical tape on one edge of the new tile. IMPORTANT: use electrical tape, NOT clear plastic tape. This is done for several reasons; 1) it will block out any light that might pass through the blackened transparency, and 2) it will make proper placement of the new tile a lot easier.
After taping all 4 sides of the new tile, I did the same to the next tile. DON'T try to be neat or fancy. When the smoked cover is on you won’t see any of it.
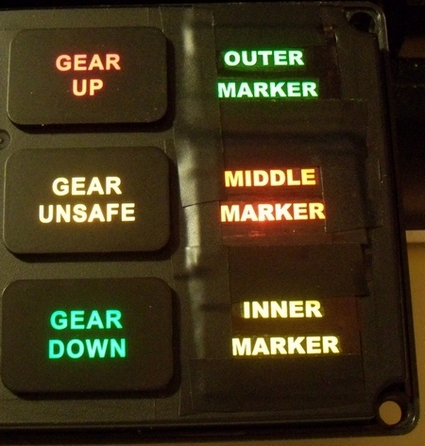
Sorry about the picture. The colors are off and I didn't focus very well. The "MIDDLE MARKER" is actually red. I hope you get the idea anyway.
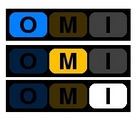
A note on color: Each BIP LED has 2 colors, the third color is a combination of the 2 colors together. I tried colored filters behind the transparencies but had no luck. Someone with a color ink jet may have better luck.
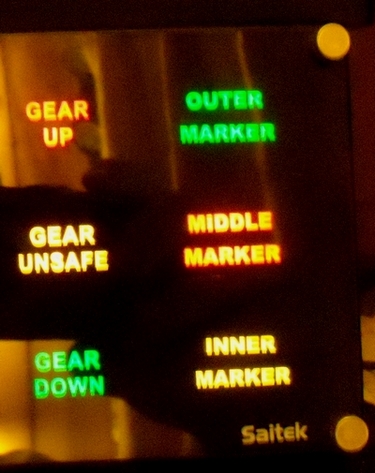
But in the end it does what I wanted - they light up in sequence as I fly over the radio markers.